Quality assurance
Our quality standards are the highest, both with regard to our products and our work. Our customers expect this of us, and we demand it of ourselves. We employ different quality assurance systems to maintain the high level of excellence of our components.
Measurement
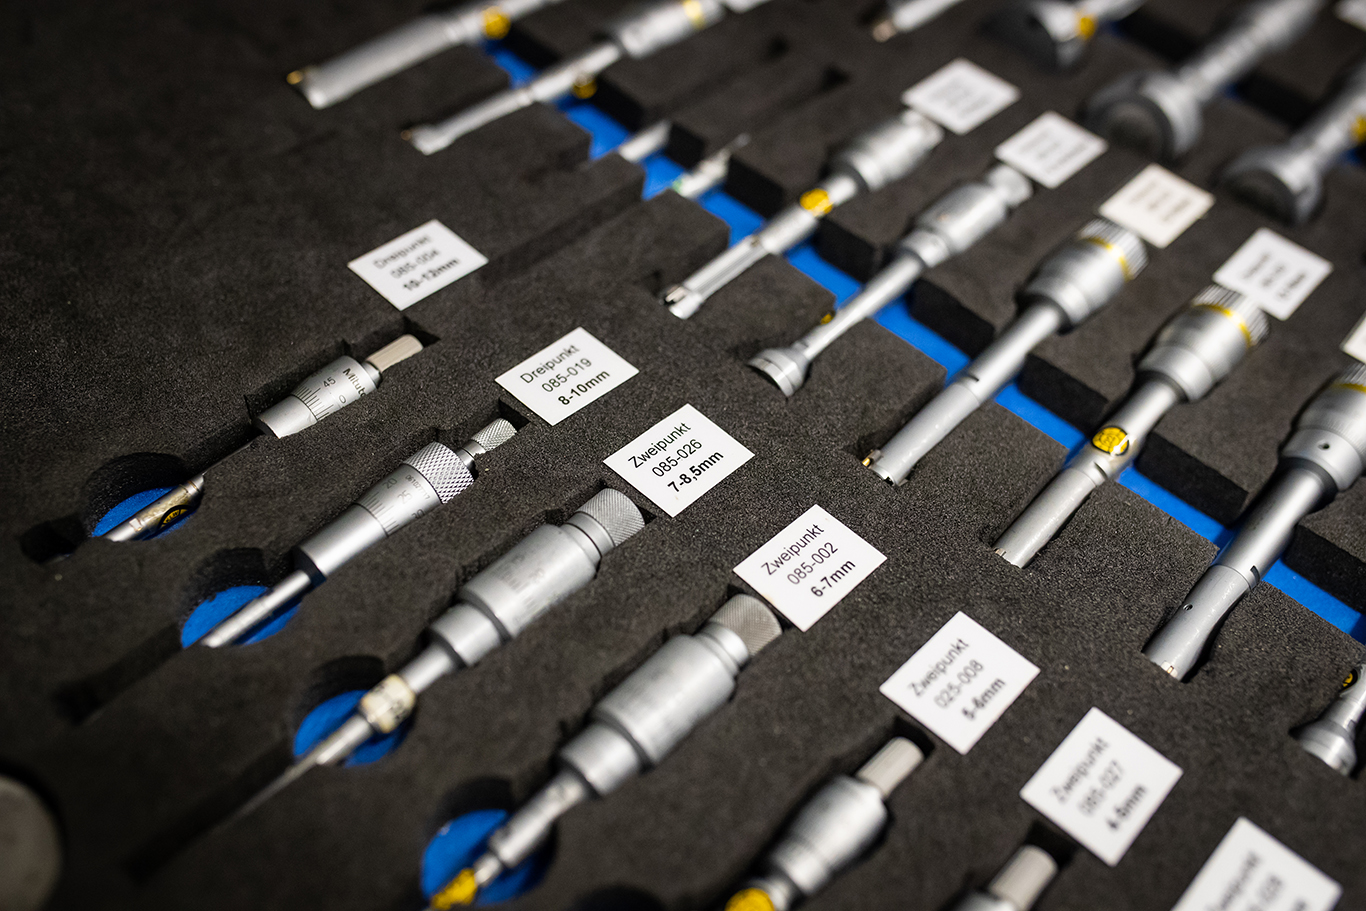
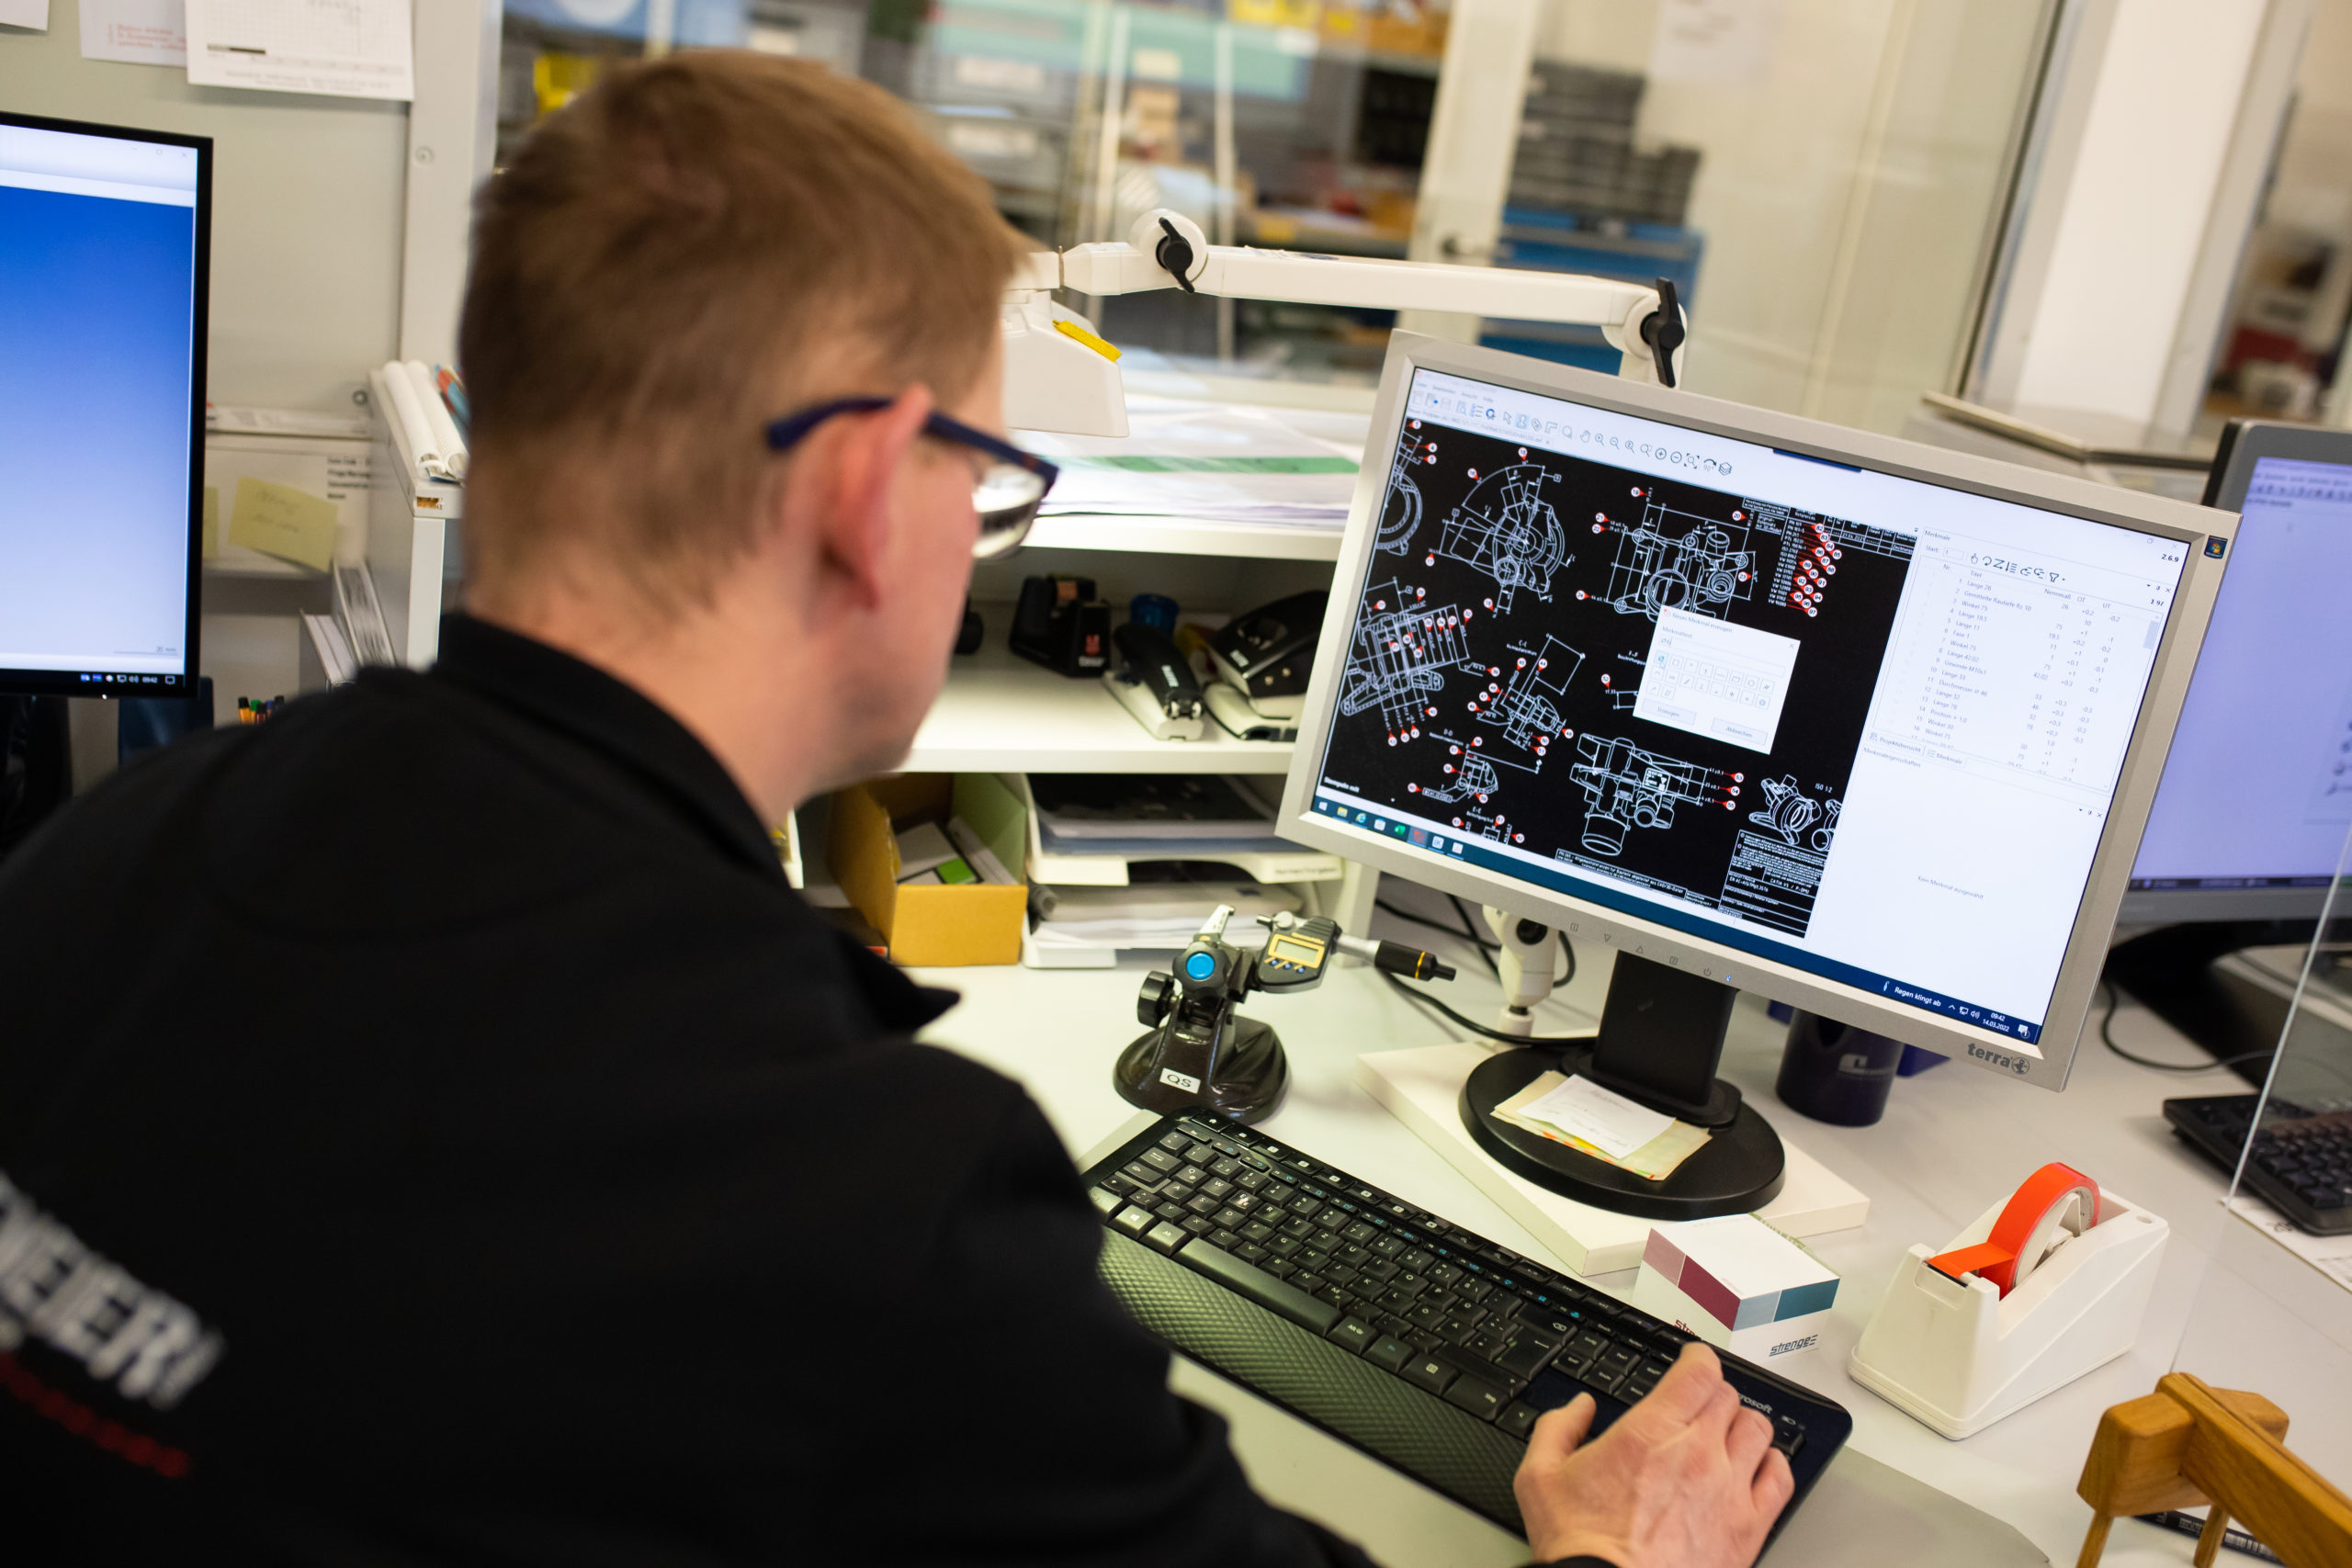
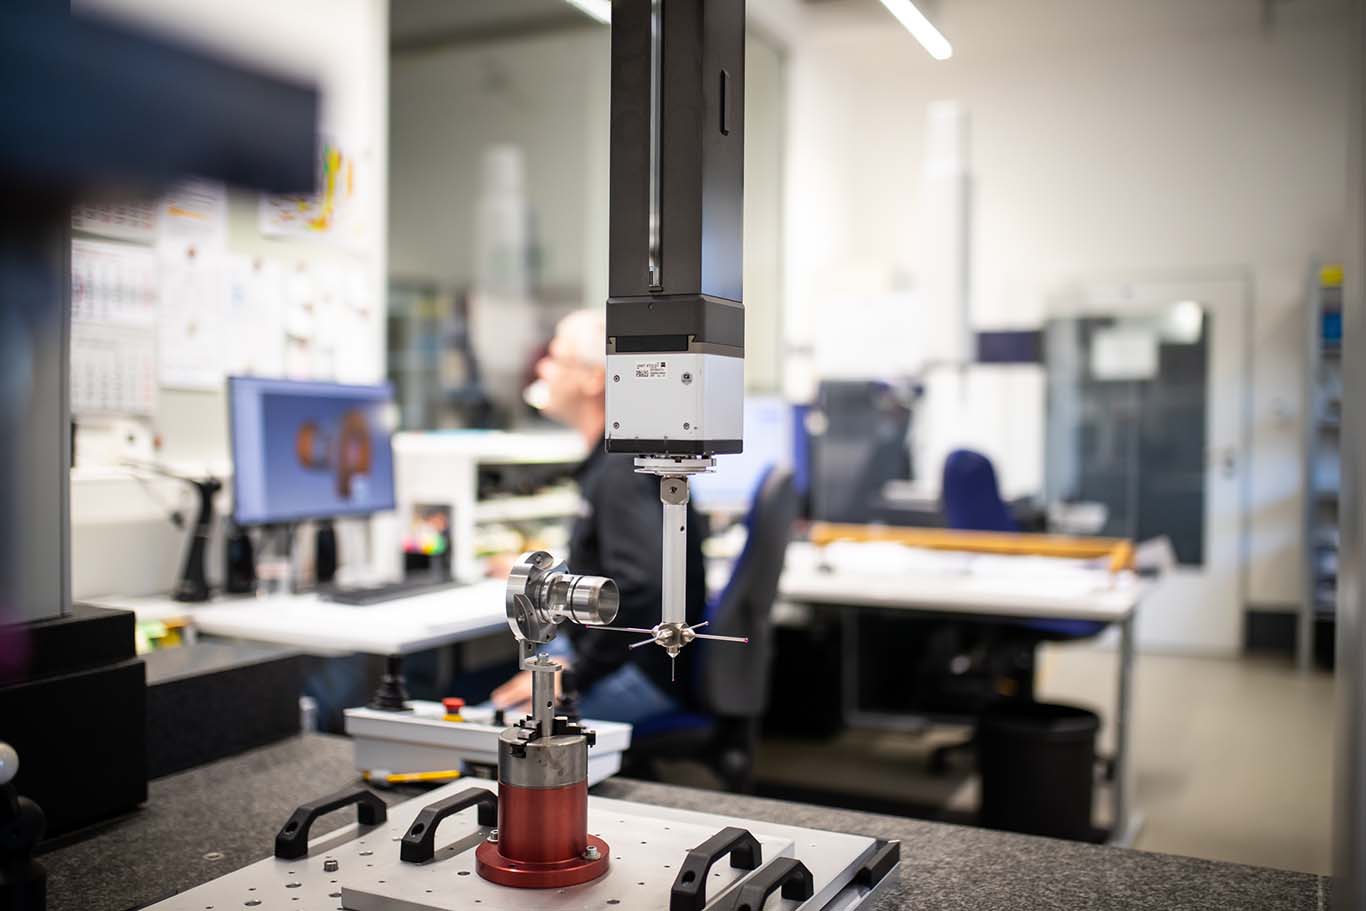
We check your components during the manufacturing process and prior to delivery using state-of-the-art precision 3D measuring machines from Zeiss.
Our test equipment is monitored independently of external service providers of measuring equipment monitoring.
These enables us to ensure you, our customer, receive the quality you demand.
Scanning
We subject your casting raw parts to precision inspections through our scans. This allows us to determine whether perfect finished parts can be created prior to the machining process. We can ensure that casting geometries are adhered to through scanning of the 3D patterns of components developed by us.
Our scans are also used for identical duplication of existing parts through re-engineering.
Test reports
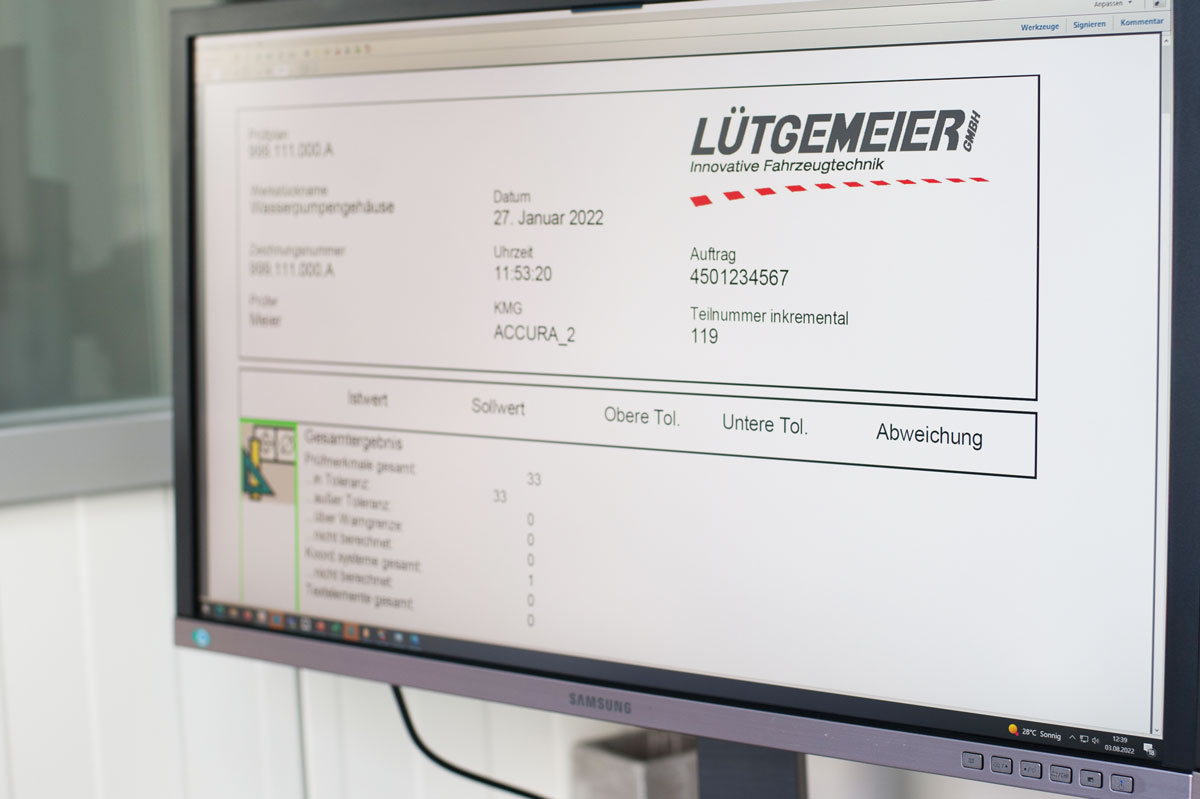
We produce your components on the basis of work plans in which the work flow sequence is defined and the realisation of required tests is documented and tracked. This gives you complete transparency at all times with regard to the production process. Materials used are recorded through a certification system.
Measurement and initial sample test reports are a matter of course with us.
Functional testing
Functional testing of your assemblies can be conducted before a product leaves our company. This includes leak testing of all castings conveying media. For Turbochargers we can offer balancing and cold gas testing. We have our own in-house test stands for this purpose, and these are subject to continual inspection. Our oil pump test stand on which the output and performance of components are tested is also part of our functional testing portfolio.
Batch traceability
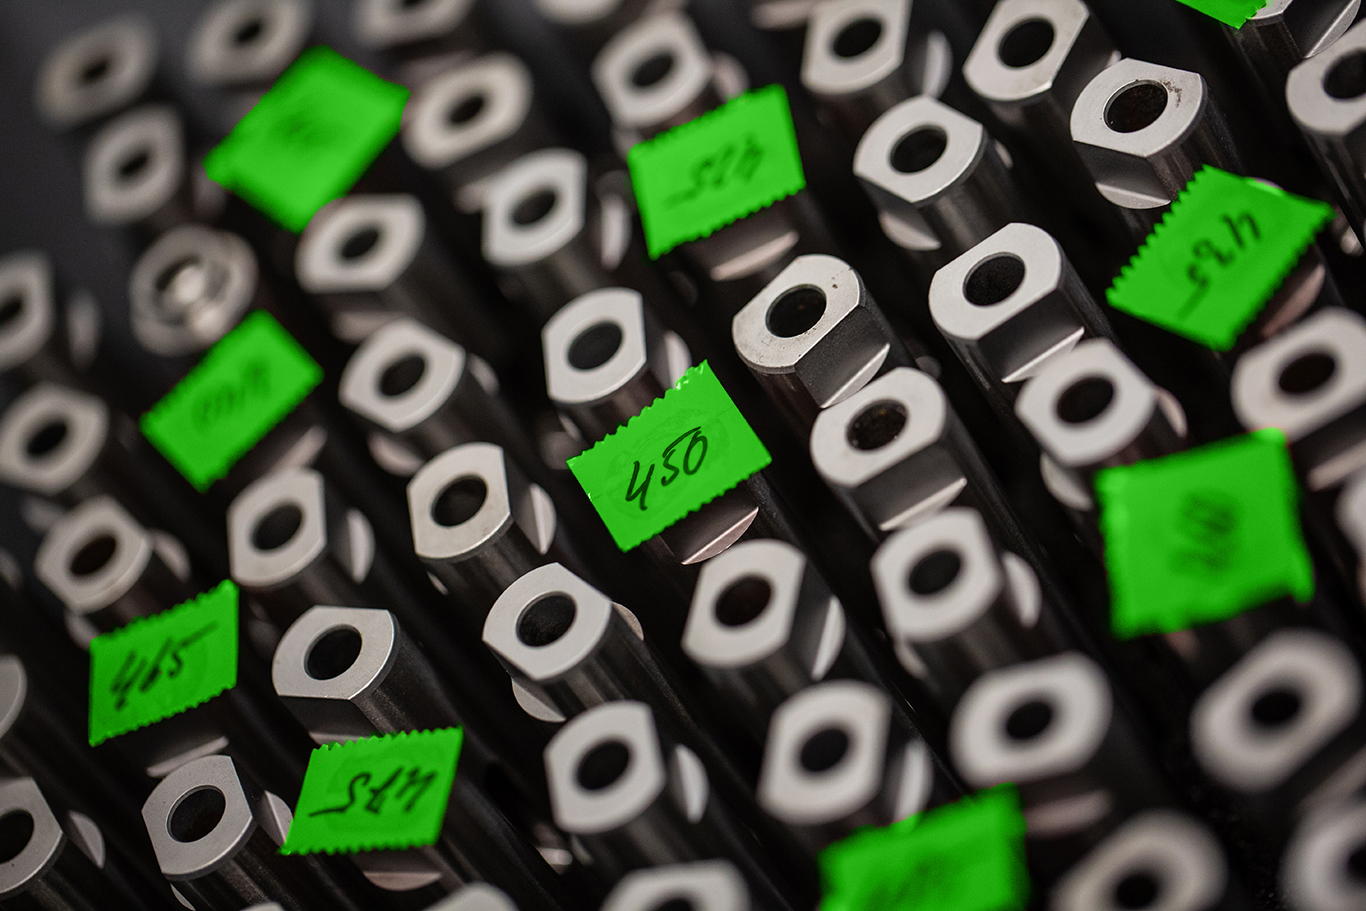
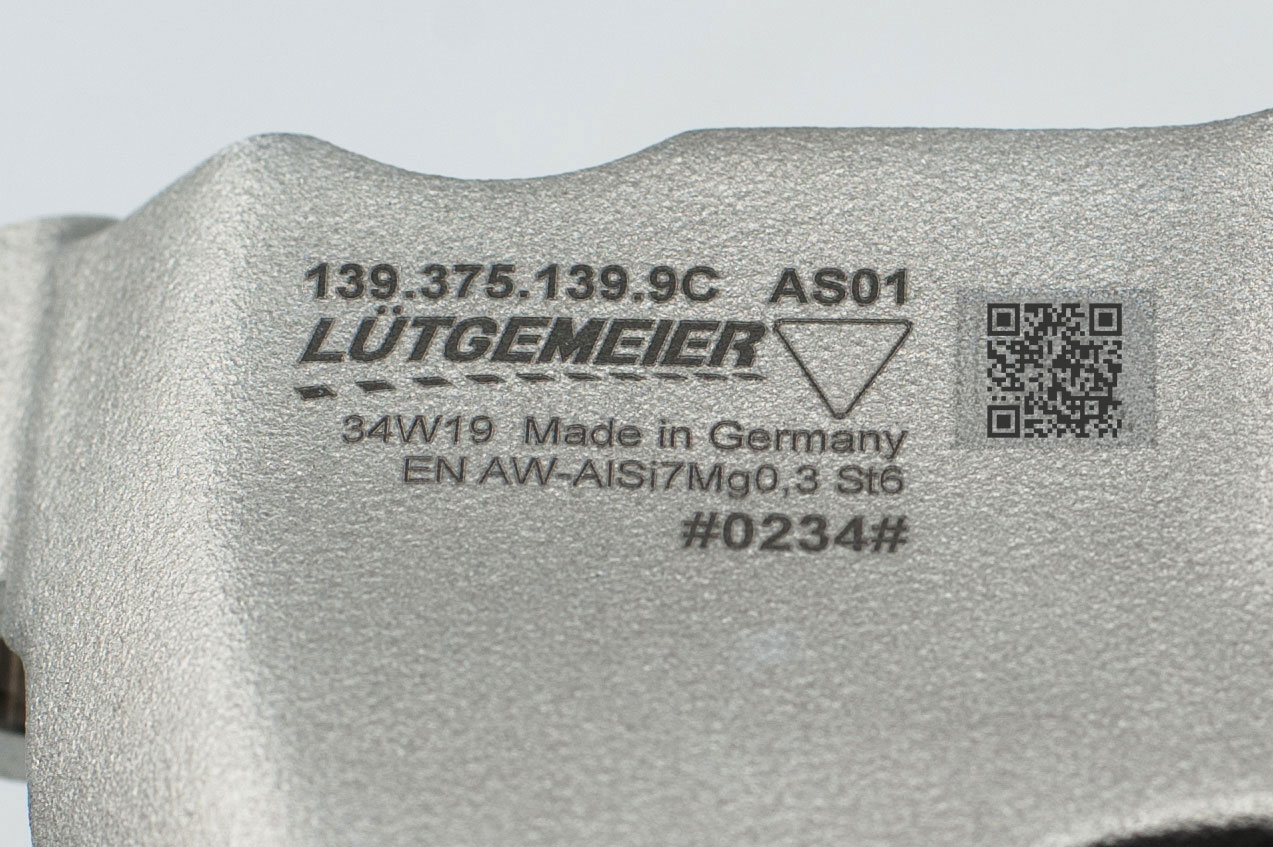
We ensure when manufacturing our products that uninterrupted traceability of all materials used and documentation, records, scanning and testing results is assured. Every component that leaves our production facility is given a distinctive identification marking by our in-house laser.
This enables us to trace at any time the batch in which the component was produced, the time it was produced and the material used to produce it. We can also identify associated measurement reports and test results with great precision.
Quality assurance
Our quality standards are the highest, both with regard to our products and our work. Our customers expect this of us, and we demand it of ourselves. We employ different quality assurance systems to maintain the high level of excellence of our components.
Measurement
We check your components during the manufacturing process and prior to delivery using state-of-the-art precision 3D measuring machines from Zeiss.
Our test equipment is monitored independently of external service providers of measuring equipment monitoring.
These enables us to ensure you, our customer, receive the quality you demand.
Scanning
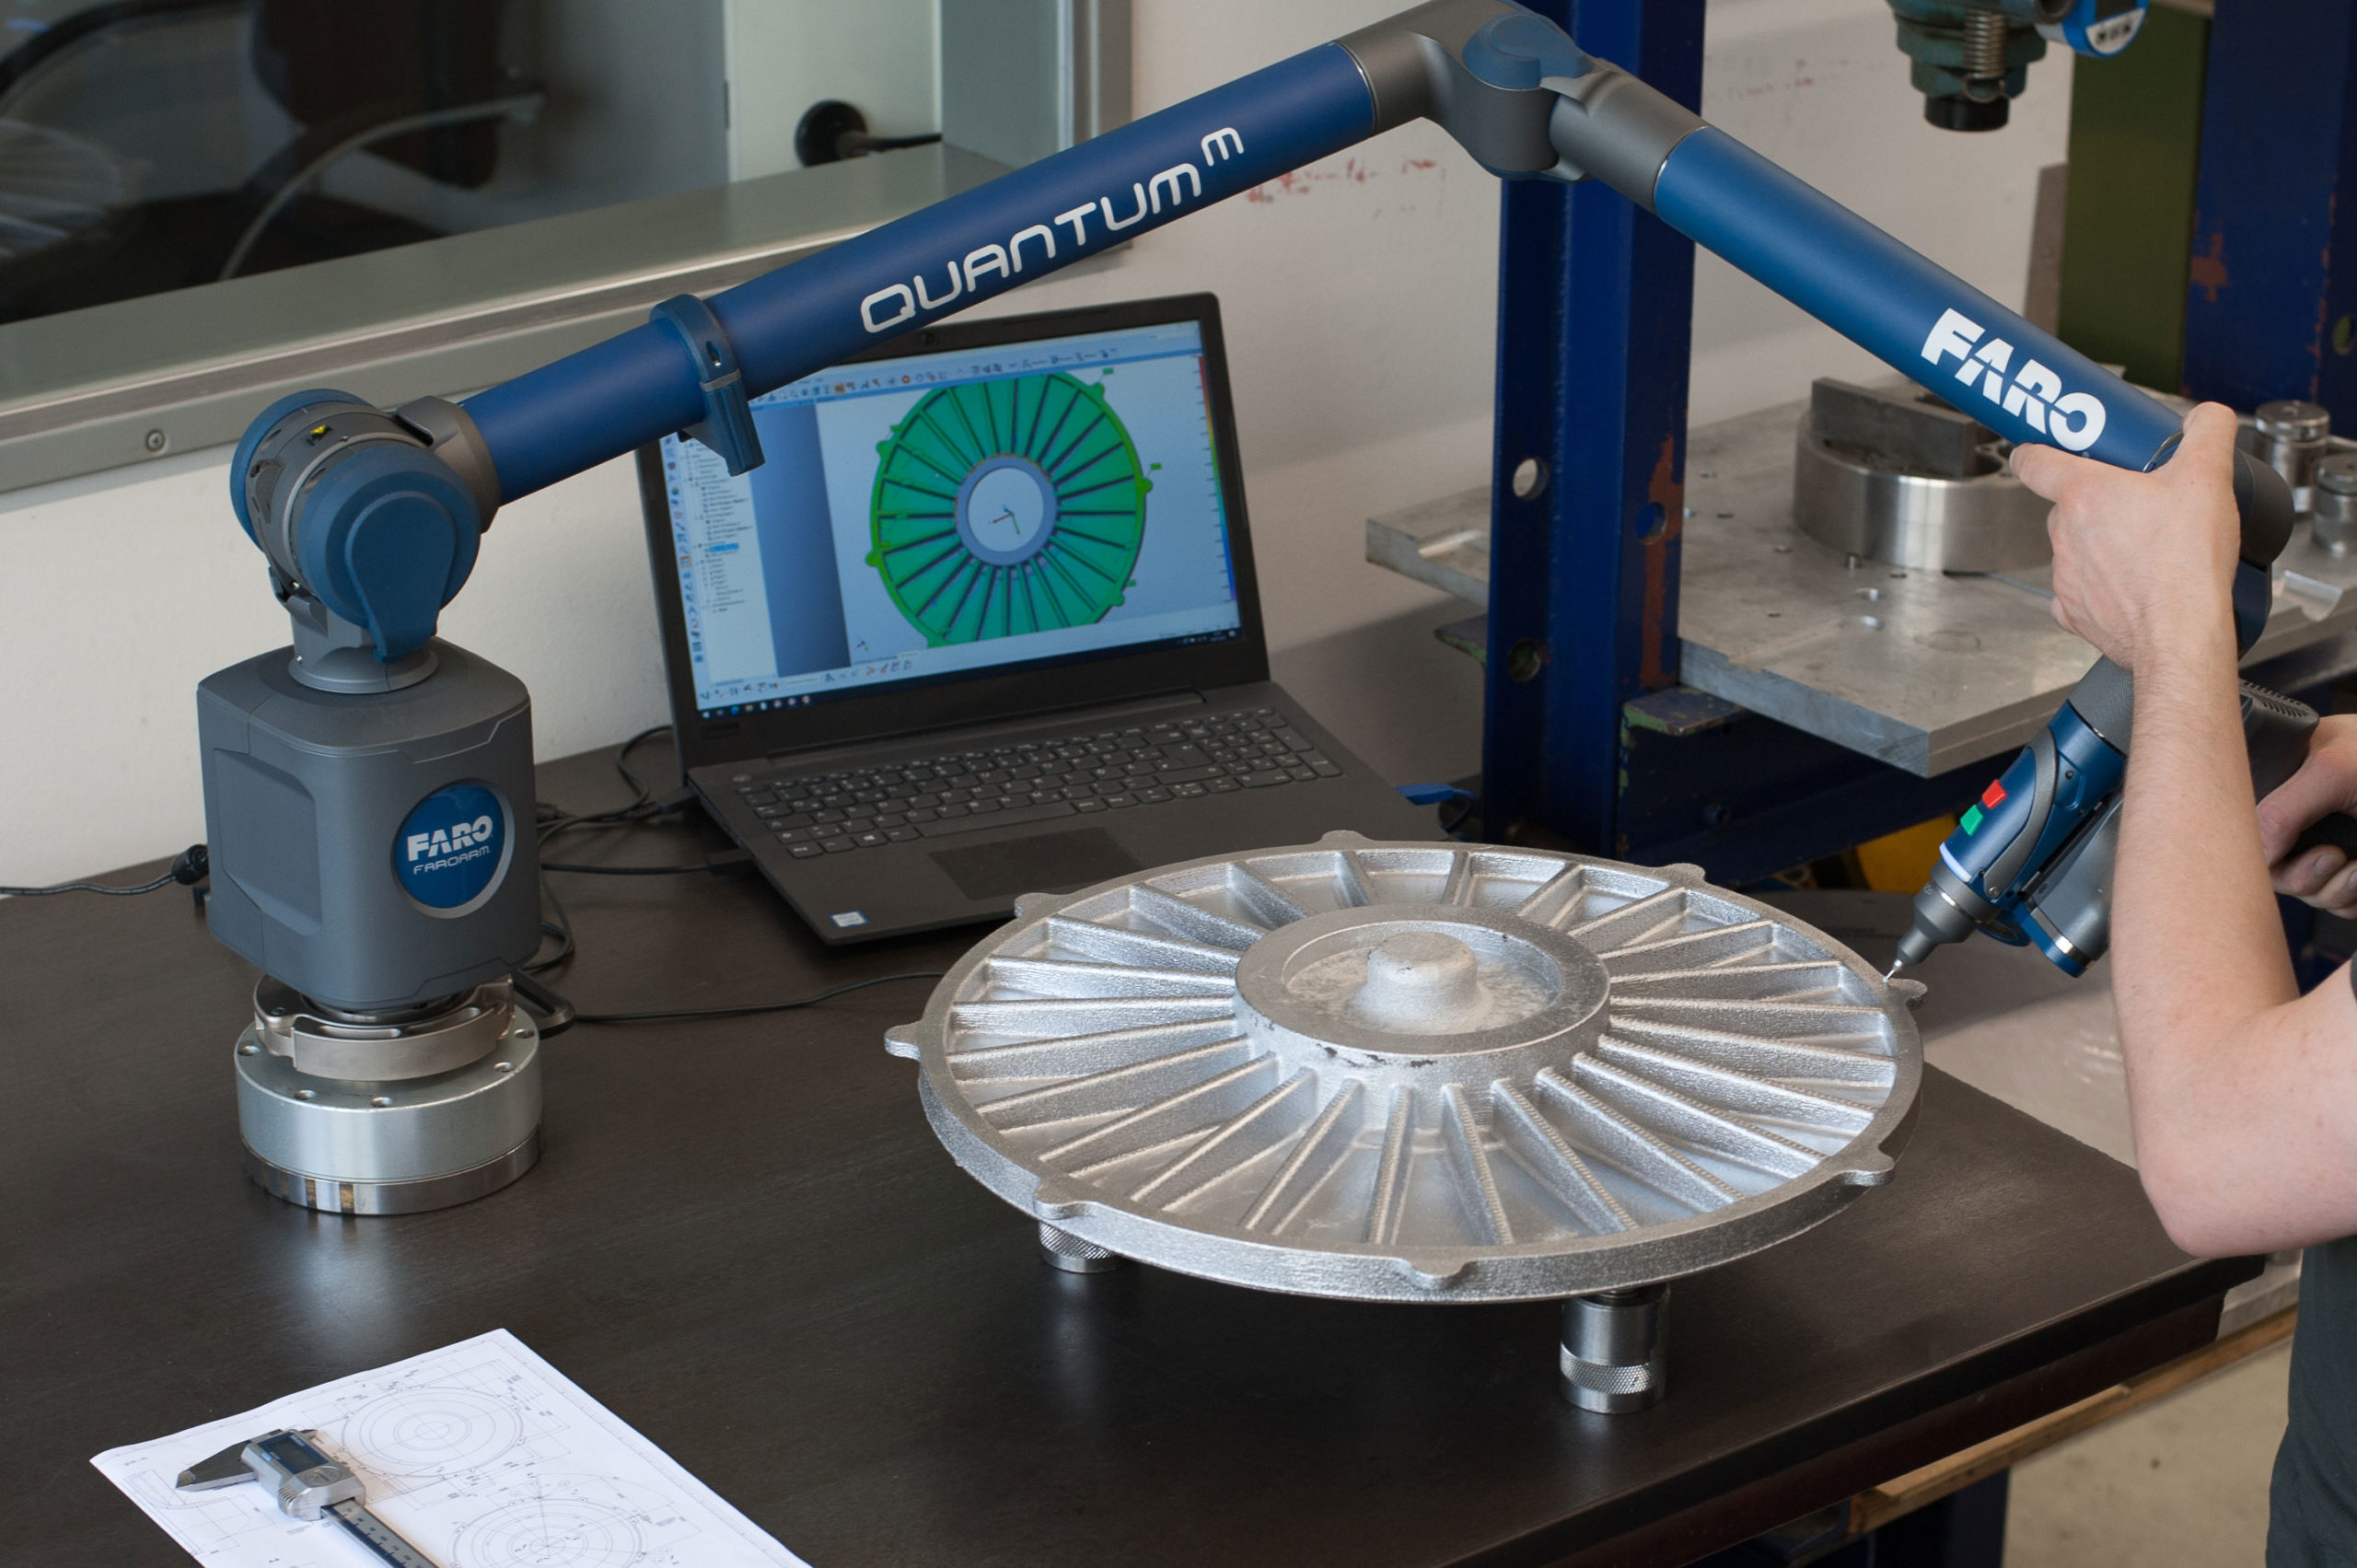
We subject your casting raw parts to precision inspections through our scans. This allows us to determine whether perfect finished parts can be created prior to the machining process. We can ensure that casting geometries are adhered to through scanning of the 3D patterns of components developed by us.
Our scans are also used for identical duplication of existing parts through re-engineering.
Test reports
We produce your components on the basis of work plans in which the work flow sequence is defined and the realisation of required tests is documented and tracked. This gives you complete transparency at all times with regard to the production process. Materials used are recorded through a certification system.
Measurement and initial sample test reports are a matter of course with us.
Functional testing
Functional testing of your assemblies can be conducted before a product leaves our company. This includes leak testing of all castings conveying media. For Turbochargers we can offer balancing and cold gas testing. We have our own in-house test stands for this purpose, and these are subject to continual inspection. Our oil pump test stand on which the output and performance of components are tested is also part of our functional testing portfolio.

Batch traceability
We ensure when manufacturing our products that uninterrupted traceability of all materials used and documentation, records, scanning and testing results is assured. Every component that leaves our production facility is given a distinctive identification marking by our in-house laser.
This enables us to trace at any time the batch in which the component was produced, the time it was produced and the material used to produce it. We can also identify associated measurement reports and test results with great precision.
Lütgemeier GmbH // Lange Straße 21 // 33803 Steinhagen // Tel: +49 (0) 5204 91 42 42 // Mail: mail@luetgemeier.de


